
Documentation Index

Fetch the complete documentation index at: https://docs.hanko.io/llms.txt

Use this file to discover all available pages before exploring further.

This guide uses Next.js, but you can apply the same concepts to other frameworks or languages. We’re expanding our framework examples, so stay tuned for more!
1

Create Supabase account

Sign up for a Supabase account if you don’t have one already.
2

Create new project

From the Supabase dashboard, click ‘New Project’ to create a project for your application.
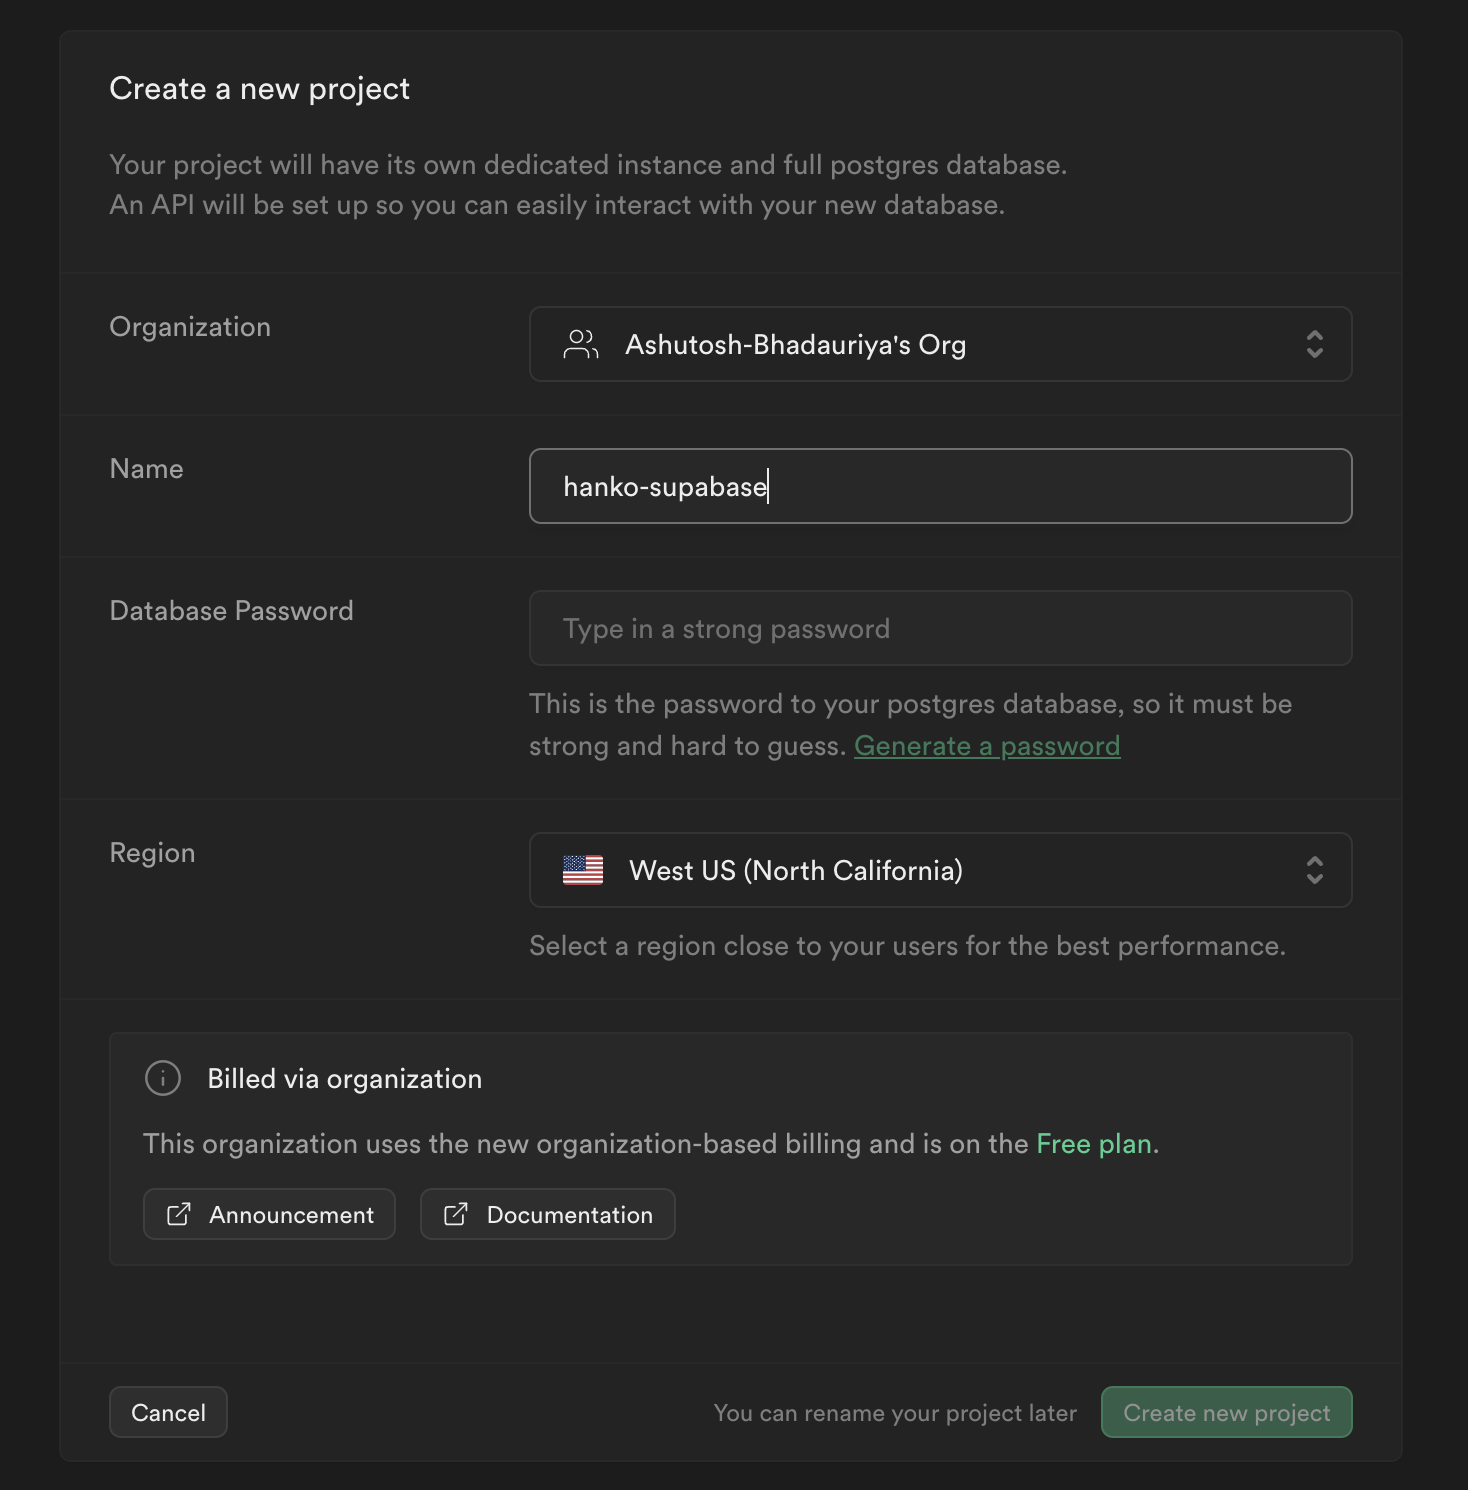
create new project
3

Create users table

In your project dashboard, navigate to ‘Database’ and create a new ‘users’ table. This table will store user information from Hanko. Add these columns beyond the default ‘id’:
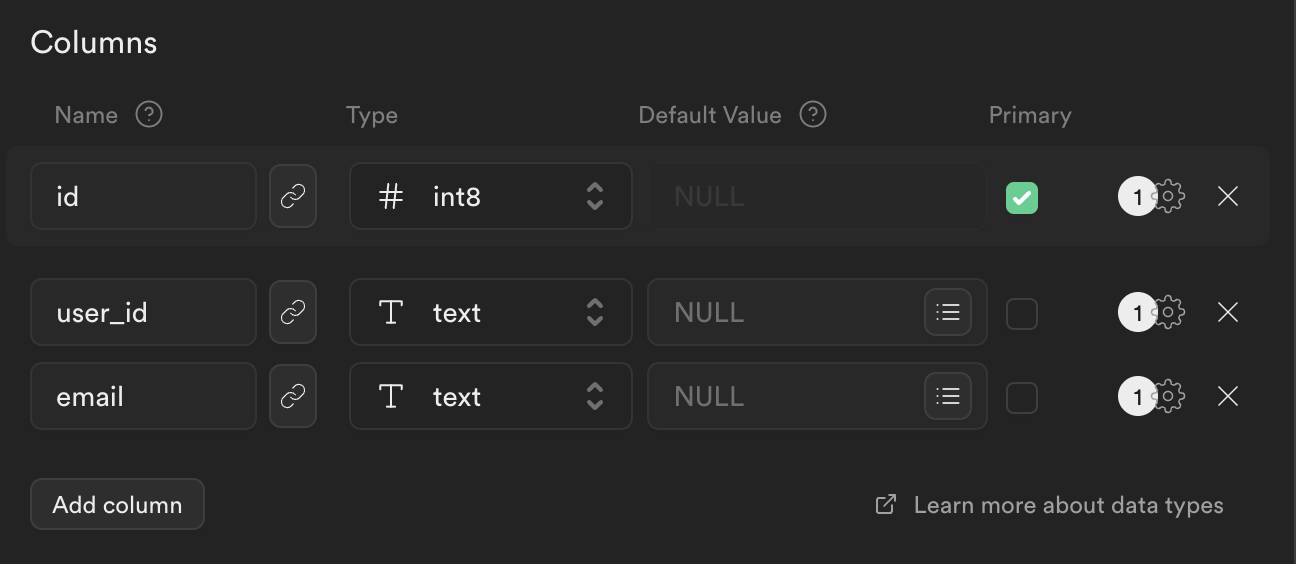
  • ‘user_id’ (to match Hanko’s user ID)
  • ‘email’ (to store user email addresses)
create new project
4

Configure environment variables

In your project dashboard, go to ‘Project Settings’ > ‘API’. Copy the ‘URL’ and ‘service_role’ key, then add them to your .env.local file.
.env.local
NEXT_PUBLIC_HANKO_API_URL=https://f4****-4802-49ad-8e0b-3d3****ab32.hanko.io

NEXT_PUBLIC_SUPABASE_PROJECT_URL=YOUR_SUPABASE_PROJECT_URL
SUPABASE_SERVICE_ROLE_KEY=YOUR_SUPABASE_SERVICE_ROLE_KEY
5

Install Supabase JavaScript Client

Add the Supabase client library to your application (assuming Hanko Auth is already configured).
npm install @supabase/supabase-js
6

Set up Supabase Client

lib/supabase.ts
import { createClient } from "@supabase/supabase-js";

export const supabase = createClient(
  process.env.NEXT_PUBLIC_SUPABASE_PROJECT_URL!,
  process.env.SUPABASE_SERVICE_ROLE_KEY!
);
7

Create user synchronization API

Build an API endpoint to sync user data between Hanko and Supabase.
app/api/create-user/route.ts
import { NextResponse } from "next/server";
import { supabase } from "@/lib/supabase";

export async function POST(req: Request, res: Response) {
  try {
    const user = await req.json();

    if (!user) {
      return new NextResponse("Unauthorized", { status: 401 });
    }

    let supauser;

    try {
      const { data, error } = await supabase
        .from("users")
        .select("*")
        .eq("user_id", user.id)
        .single();

      if (error) {
        console.error(error);
      }

      supauser = data;

      if (!supauser) {
        const { data, error } = await supabase
          .from("users")
          .insert([{ user_id: user.id, email: user.email }]);

        if (error) {
          console.error(error);
        }

        supauser = data;
      }
    } catch (error) {
      console.error(error);
    }

    const user_data = {
      ...user,
      id: supauser?.id,
    };

    return new NextResponse(JSON.stringify(user_data), { status: 200 });
  } catch (error) {
    console.error("[CREATEUSER_ERROR]", error);
    return new NextResponse("Internal Error", { status: 500 });
  }
}
8

Integrate with HankoAuth component

Modify your Hanko authentication component to automatically sync user data when onSessionCreated triggers.
components/hanko/HankoAuth.tsx
"use client";

import { useEffect, useCallback, useState } from "react";
import { useRouter } from "next/navigation";
import { register, Hanko } from "@teamhanko/hanko-elements";

const hankoApi = process.env.NEXT_PUBLIC_HANKO_API_URL || '';

export default function HankoAuth() {
  const router = useRouter();

  const [hanko, setHanko] = useState<Hanko>();

  useEffect(() => setHanko(new Hanko(hankoApi)), []);

  const redirectAfterLogin = useCallback(() => {
    // successfully logged in, redirect to a page in your application
    router.replace("/dashboard");
  }, [router]);

  useEffect(
    () =>
      hanko?.onSessionCreated(async () => {
        const user = await hanko.user.getCurrent()

        const fetchData = async () => {
          if (!user) {
            console.error('No user data')
            return
          }
          try {
            const response = await fetch('/api/create-user', {
              method: 'POST',
              body: JSON.stringify(user),
            })

            if (!response.ok)
              throw new Error(`HTTP error! status: ${response.status}`)
          } catch (error) {
            console.error('Fetch Error: ', error)
          }
        }
        await fetchData()
        redirectAfterLogin();
      }),
    [hanko, redirectAfterLogin]
  );

  useEffect(() => {
    register(hankoApi).catch((error) => {
      console.error(error);
    });
  }, []);

  return <hanko-auth />;
}
9

Try it yourself

Supabase example with Nextjs

Full source code available on our GitHub